BLOG
How To Sell Digital Products Online
How to create a digital product listing on Etsy
Building a digital product listing on Etsy may seem daunting, but with the right steps, it can be a smooth process. In this post, I will walk you through the exact steps to create a digital product listing from scratch. Whether you are selling sublimation designs, clip art bundles, or any other type of digital file, this guide will help you optimize your listing for success.
This post was adapted from my recent YouTube video and if you would like to watch the demonstration, please click here.)
(This post may contain affiliate links, and you can read the full disclosure here)
Step 1: Accessing the Listings Page
To begin, navigate to your Etsy shop homepage and click on the "Listings" tab. This will take you to the listings dashboard. From there, click on the "Add a Listing" button located in the top right-hand corner of the page.
Step 2: Choosing Digital Files
Once you're on the "Add a Listing" page, the first thing to check is the "Digital files" option. Make sure to select this option if your product is a digital file. You'll also need to specify whether it's a finished product or a customizable one. Once you've made the necessary selections, click "Continue" to proceed to the next step.
Step 3: Filling Out the Title Field
The title field is where you'll enter the keywords and a brief description of your product. It's important to include relevant keywords that people might use when searching for products like yours. Keep in mind that the title field has a character limit of 140, so be concise and avoid repeating keywords. For example, if you're selling sublimation designs, you could include keywords like "sublimation designs," "Tumbler wraps," or "wind spinner designs."
Step 4: Adding Photos and Videos
The photos and videos section is where you showcase your product visually. It's essential to provide high-quality images and videos that accurately represent your digital file. Include different versions or mockups of your product to give potential customers a clear idea of what they will be getting. For example, you could include a video demonstrating the design, flatlay mockups, and instructions on how to download the digital file.
Step 5: Setting the Thumbnail Image
The thumbnail image is automatically generated from the primary photo you've uploaded. You can adjust the thumbnail image if needed, but it's recommended to leave it as is if it fits perfectly. This image will be the first impression potential customers have of your product, so ensure it accurately represents your digital file.

Step 6: Uploading the Digital Files
In the "Digital files" section, you'll upload the actual digital files that customers will receive after purchasing. Keep in mind that there is a 20 MB limit per file. If your file is larger or if you're selling a bundle with multiple files, you can provide a PDF with a link to Dropbox or Google Drive where customers can access the files. It's also a good practice to provide instructions on how to download the digital file to avoid any confusion or customer service issues.
Step 7: Writing the Description
The description field is where you provide detailed information about your digital file. Use a conversational tone and explain what the file is, its purpose, and how it should be used. If there are any limitations or specific instructions, make sure to include them as well. For example, if you're selling sublimation designs, clarify the difference between sublimation and SVG files and provide instructions on how to use the file.
Step 8: Adding Tags
The tags section is where you add keywords that are relevant to your product. These keywords are what people will search for when looking for similar products on Etsy. Choose keywords that accurately describe your product and try to include as many tags as possible without repeating keywords from the title or description. For example, if you're selling Tumbler wraps, you could include tags such as "Tumbler wrap," "PNG," "affirmation," "motivational," and "butterfly."
Step 9: Categorizing Your Product
In the category section, you'll choose the category that best fits your digital product. Etsy provides several categories and subcategories to choose from. For example, if you're selling sublimation prints, you could categorize it under "Digital Prints" or "Clip Art." Choose the category that accurately represents your product and makes it easy for customers to find.
Step 10: Finalizing Your Listing
Once you've filled out all the necessary fields, make sure to review your listing for any errors or missing information. Check that the shipping field is set to immediate download, as digital products do not require shipping. Additionally, double-check the return and exchange policy field, as digital items are not eligible for returns or exchanges. Finally, set your renewal options to either automatic or manual, depending on your preference.
Conclusion
Creating a digital product listing on Etsy doesn't have to be complicated. By following these steps, you can build a well-optimized listing that attracts potential customers and increases your chances of making sales. Remember to use relevant keywords, provide clear and accurate descriptions, and showcase your digital files with high-quality photos and videos. With a little effort and attention to detail, you can successfully sell your digital products on Etsy.
These days, I rarely will add a listing individually due to the volume I release daily, so I use the bulk upload tool called Vela to be able to add all my listings and change individual information at one time, saving me tons of time.
Ready to elevate your Etsy shop to new heights? Explore my signature coursemunity, "Digitally Purposed: The Digital Product Profit Formula". With step-by-step guidance and weekly trainings on relevant topics, this course and community equips Etsy sellers with the tools they need to reach $10K+ per month in their digital product business, just like I did.

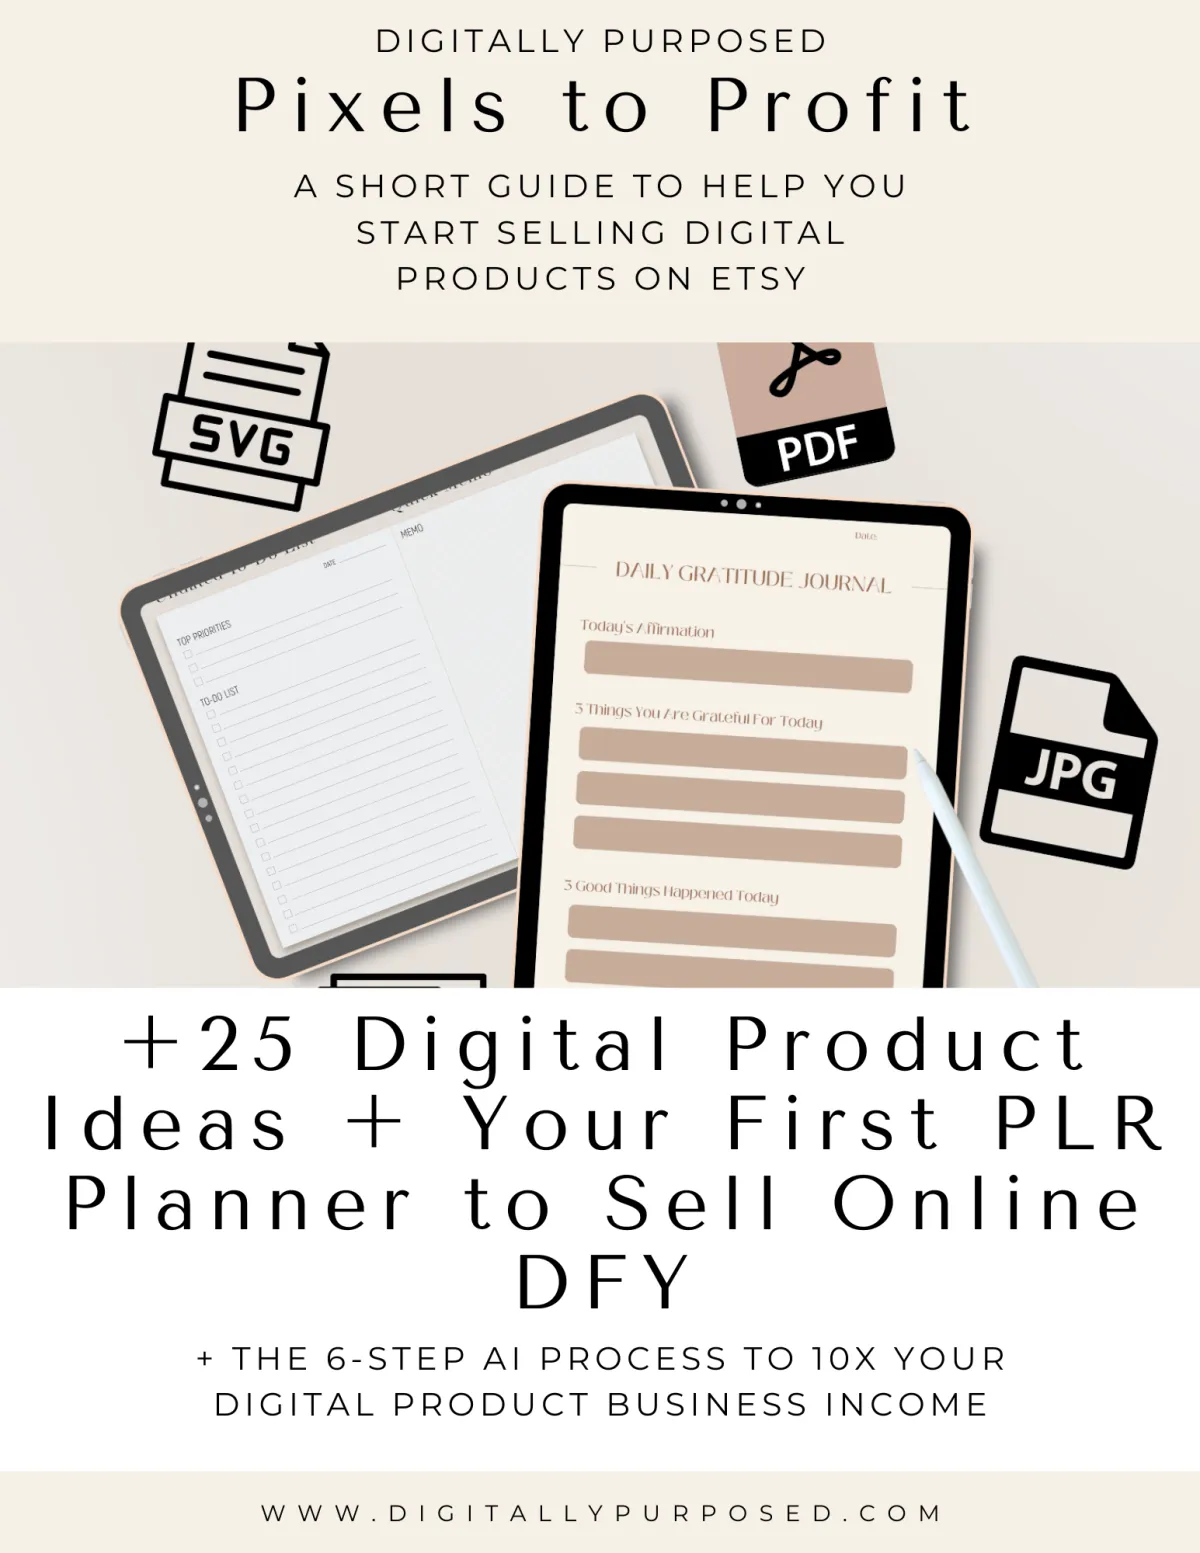
FREE DOWNLOAD
Stuck for Digital Product Ideas?
Grab this free list of 25 digital products (+ the 6-step AI process to 10x your digital product business income) and where to create and sell them here.
© Copyright 2024 Digitally Purposed - Privacy Policy - Terms of Service - Disclosure
The term "Etsy" is a trademark of Etsy, Inc. This course content is intended for use on Etsy.com but is not endorsed or certified by Etsy, Inc.